

Table of Contents
Activating a TetherBox
Activation assigns a TetherBox to a customer's account, and is what puts the cameras and devices it finds into that account. An unactivated unit does not record.
If the serial sticker has a QR code, scanning it is the fastest method: it opens the wizard with the serial already entered. Otherwise start at Activate a TetherBox, or go to Admin → TetherBoxes → Activate New.
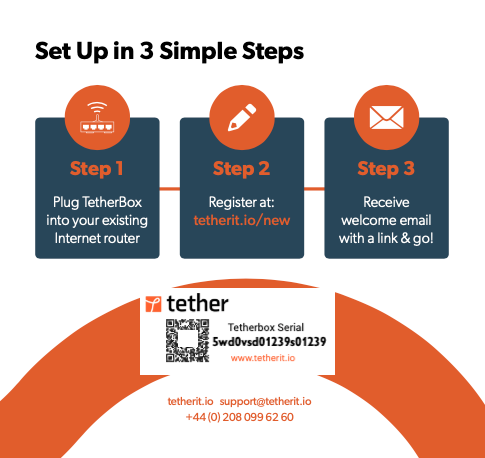
Where to Find Your Serial Number
We recommend printing the serial on the unit, on the drive inside it, and on the packaging, so that it is available whichever of those the installer has. A TetherBox supplied by TetherX has it in all three places, and on the Quick Start Guide.
Activation Steps
Step 1: Enter Your Serial Number
Enter the TetherBox serial number. If you scanned the QR code, it is already filled in.
Tick both boxes to confirm you have read the Terms and Conditions and the Privacy Policy.
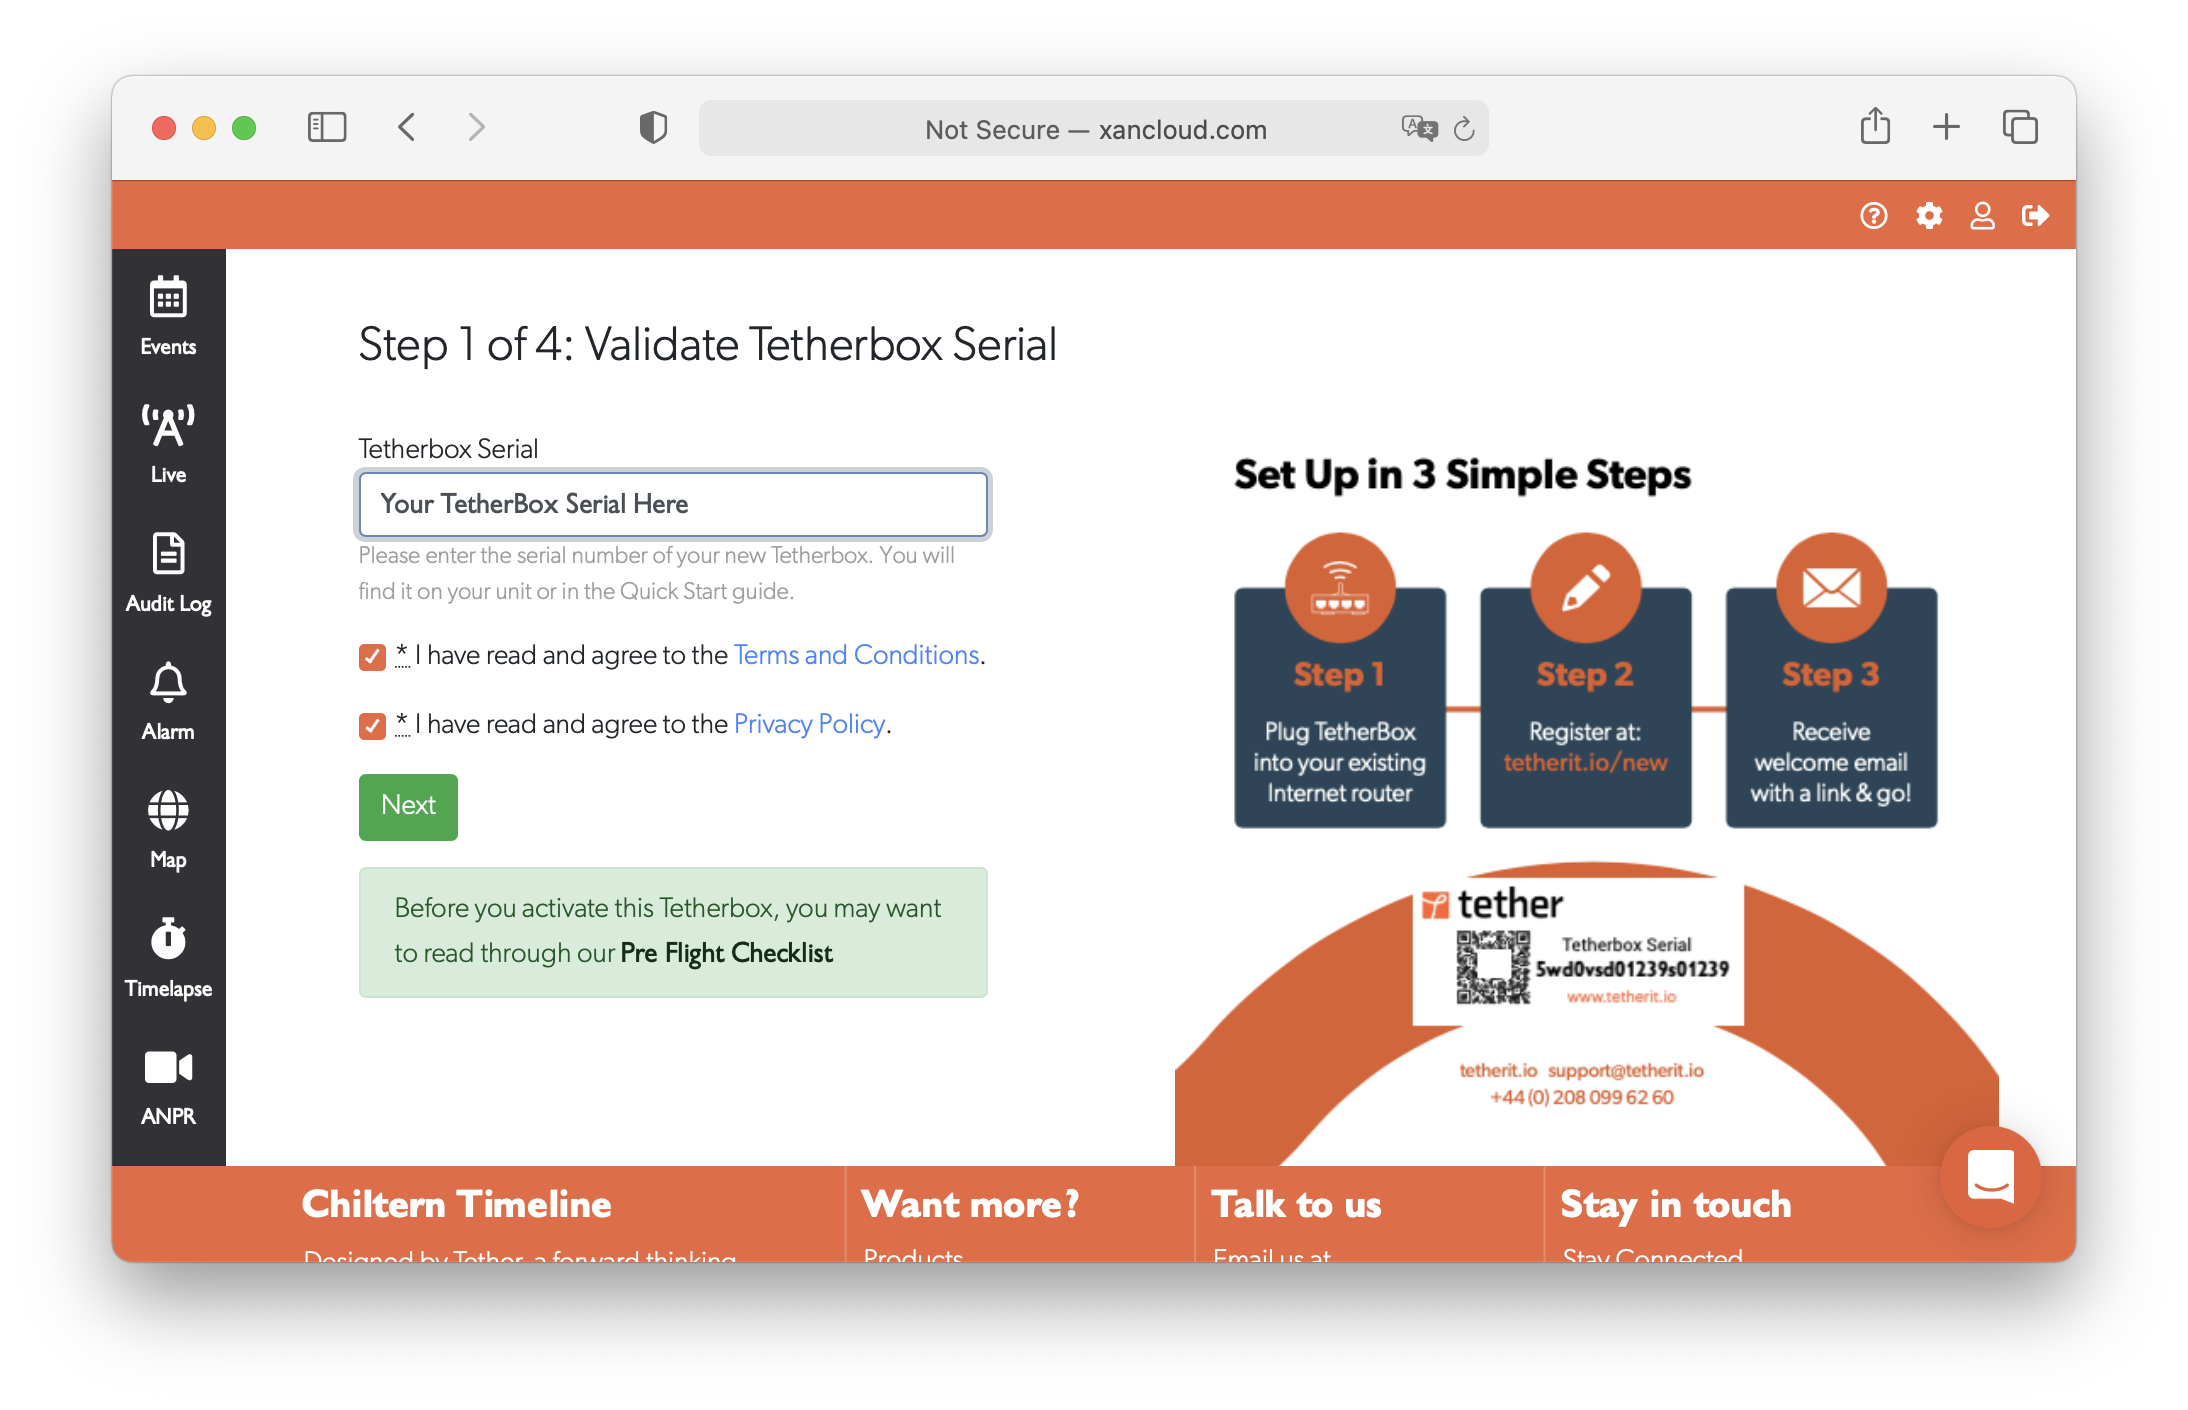
Tip: Before activating, review the Pre-Flight Checklist to ensure you have everything ready for installation.
Step 2: Your Details
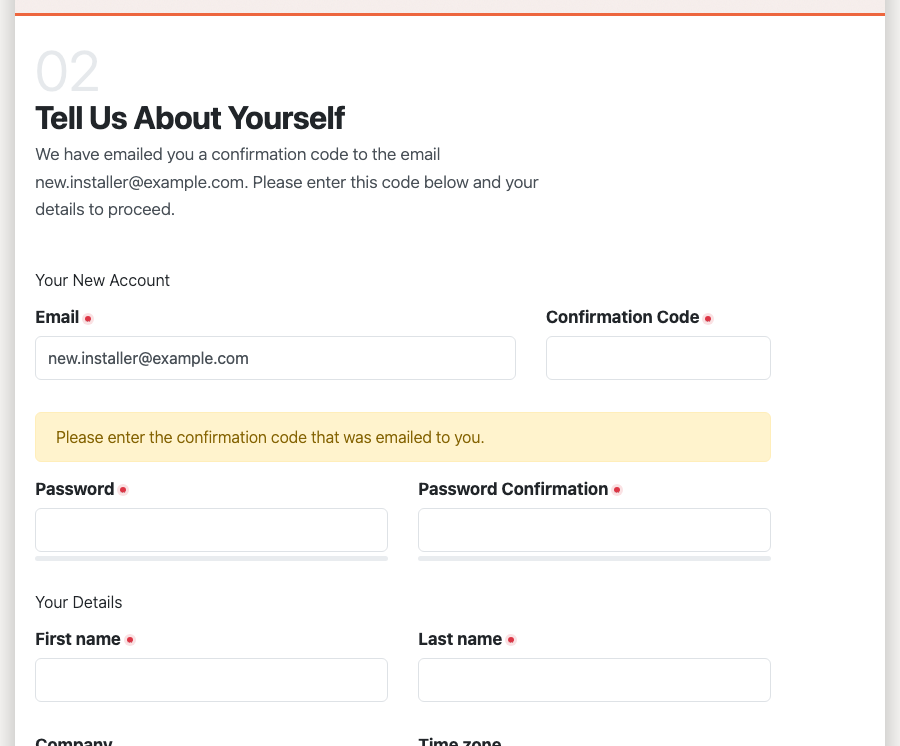
If you do not have a TetherX account, this step creates one: enter the confirmation code sent to your email address, choose a password, and enter your name and phone number. If you are already signed in, the wizard skips this step.
Step 3: Choose the Timeline
Select where this TetherBox should be activated. It defaults to a new timeline.
| Option | When to Use |
|---|---|
| New Timeline | First TetherBox for a new customer or a separate account |
| Existing Timeline | Adding a TetherBox to an account that already has TetherBoxes |
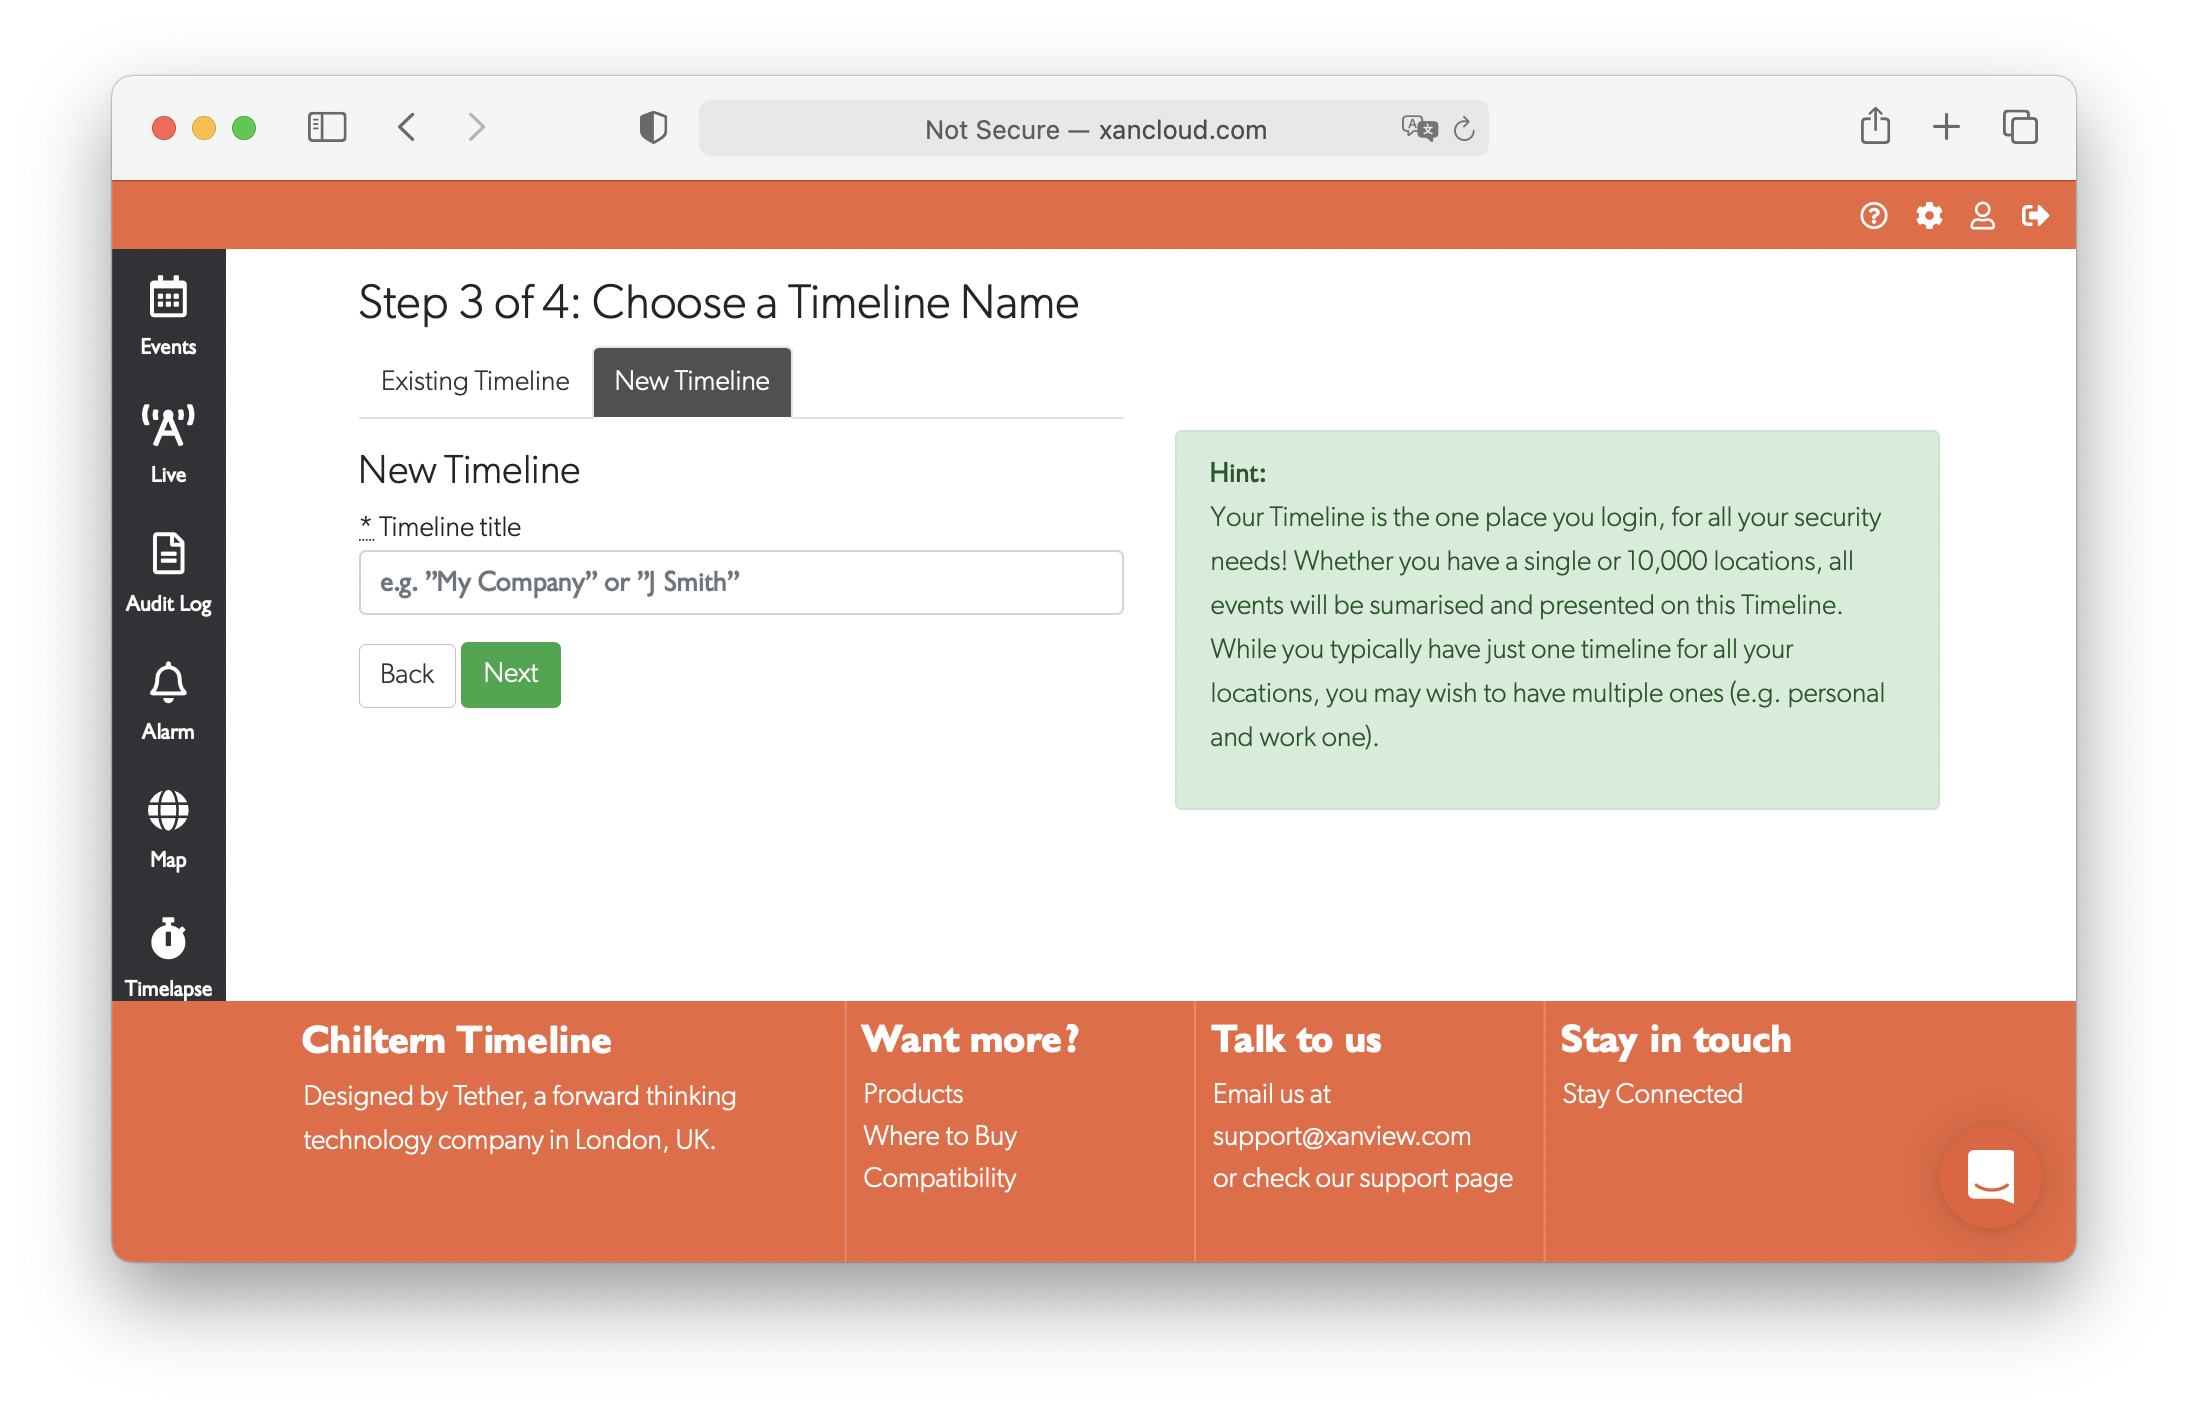
Tip: If you are replacing an existing TetherBox, select the existing timeline the old unit was activated on. The cameras, zones and devices then transfer to the new unit.
Not sure which to select? Timelines explains what a timeline is and when a customer needs their own. A TetherBox activated to the wrong timeline can be moved to another one afterwards, keeping its cameras, its site and its event history.
Step 4: Set the Site and Activate
Choose whether you are adding this TetherBox to a site already on TetherX, or to a new one. It defaults to a new site.
For a new site, complete:
- Address Name - the name shown in the interface, for example "London Office".
- Address, city, region, postcode, country - the physical location, used for the map and for finding the site later.
- How will this TetherBox be used? - the environment: office, retail, city infrastructure and so on.
- Is this a new installation, or is it replacing a TetherBox already on this site? - choose Replacing an Existing TetherBox to record which unit it replaces and why.
- Does the owner have other sites? - enable this where the same owner has other premises, which records the installation as part of a multi-site deployment.
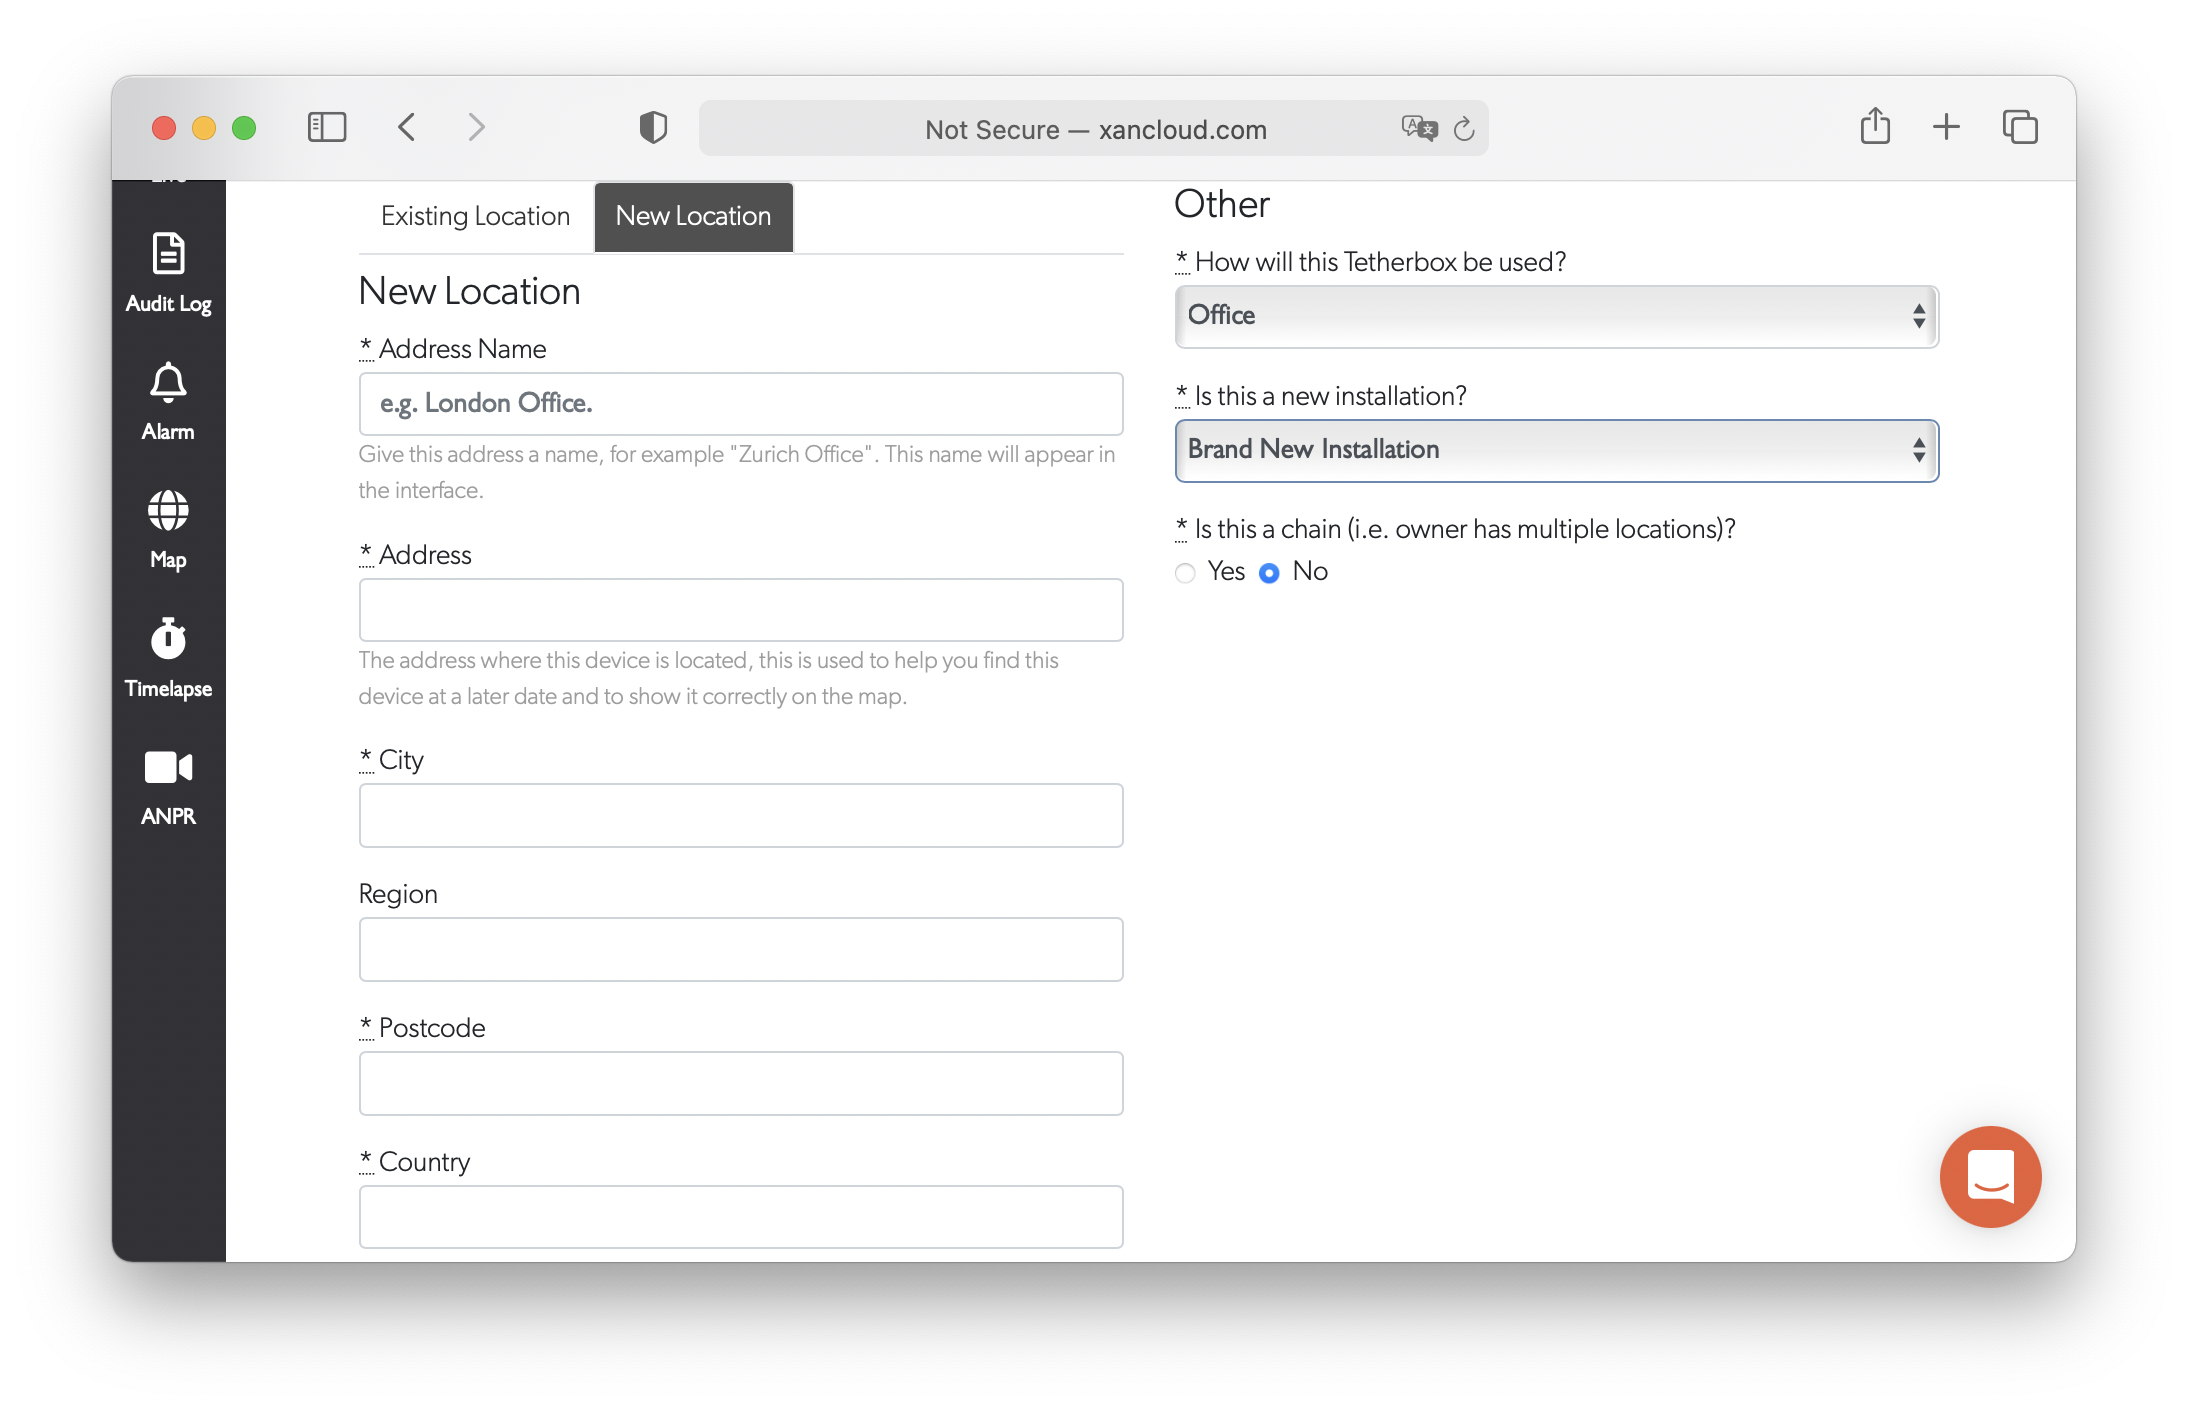
Click Activate to finish.
Activation Complete
Once the unit is activated you will see a success message, and we send you a confirmation email.
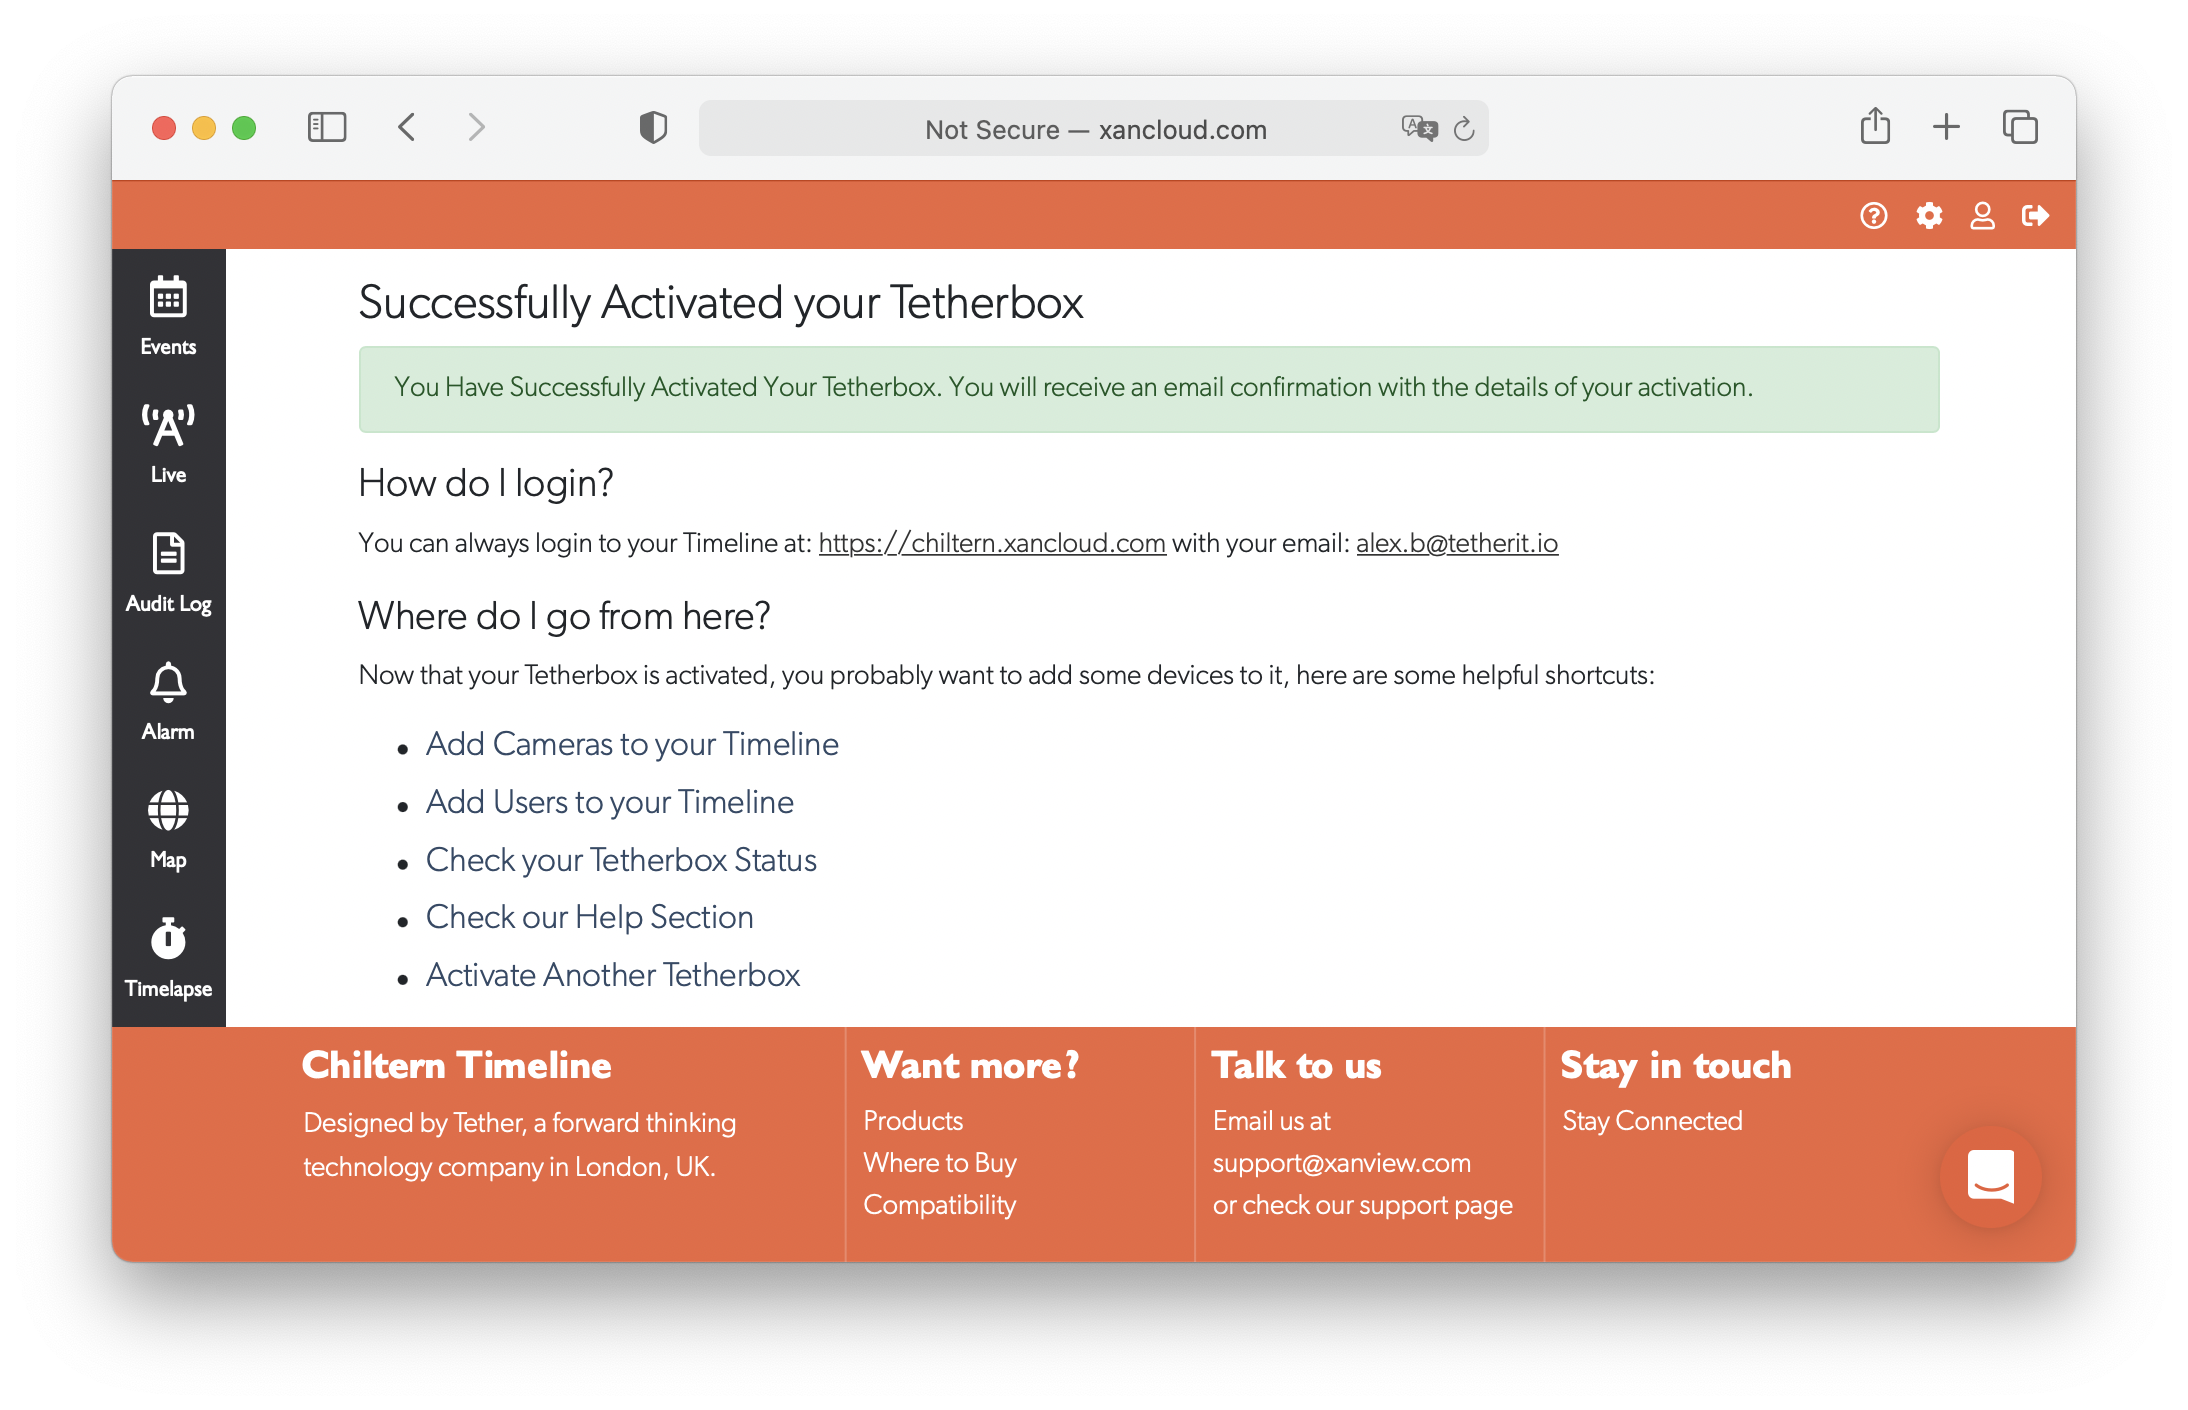
Next steps: Getting Started with TetherX covers what to do from here, in order.
Replacing an Existing TetherBox
Activate a new drive, a warranty replacement or an upgrade through the same wizard, answering Replacing an Existing TetherBox on the last step. The cameras, zones, network devices and subscription details transfer to the new unit. Replacing a TetherBox has the full procedure, including what to do with the old unit.
Warning: Using the same serial number on multiple drives causes conflicts. Units with duplicate serials are flagged and disabled by the platform.
Related Articles
- TetherBox - Overview of TetherBox features and capabilities
- Pre-Flight Checklist - What to prepare before installation
- Troubleshooting Kit - What to carry in the van for a site visit
- Replacing a TetherBox - Transferring configuration to a new unit
- Factory Reset - Removing a TetherBox from your account
- Getting Started for Integrators - Partner onboarding guide
Referenced in: