

Table of Contents
Pre-Flight Checklist
Use this checklist to collect the customer's site information before arranging an installation. Send sections 1 to 6 to the customer, asking their IT provider or existing security installer to complete the technical details where needed. The installing engineer then reviews the answers and completes the preparation and handover checks.
Complete one copy per site. Enter answers in the final column, attach an equipment list where needed, and mark anything unknown or not applicable. Assign an owner and a due date to any missing information that could affect the visit.
1. Site and Contact Details
| Information required | Customer response |
|---|---|
| Customer or organisation name | |
| Site name, full address and time zone | |
| Person completing this form: name, role and date | |
| Site contact: name, phone number and email | |
| IT or network contact: name, phone number and email | |
| Existing security installer or equipment supplier: contact details | |
| Preferred installation date and permitted working hours |
2. Installation Requirements
| Information required | Customer response |
|---|---|
| Is this a new installation, an extension or a replacement? | |
| Which cameras, recorders and other systems should be connected? Include quantities and locations. | |
| Which services are required: local recording, cloud backup, remote viewing, notifications, health monitoring or control-room integration? | |
| Required recording schedule and retention period; which cameras need cloud backup? | |
| Required features, such as audio, PTZ control, analytics or talk-down; identify the relevant devices. | |
| Must existing recording or monitoring continue during the work? State any permitted downtime. | |
| Who approves the scope and accepts the completed installation? |
The installer should confirm compatibility and service availability before agreeing the scope. Use Supported Devices, Camera Compatibility and the Quote Tool to check the equipment and prepare the proposal.
3. Cameras, Recorders and Other Equipment
Provide an equipment list with one row per device, or per group of identical devices. Include existing equipment and anything being supplied for this installation.
| Device or location | Quantity | Type | Brand and model | Firmware version | IP address or recorder channel |
|---|---|---|---|---|---|
For cameras, specify IP or analogue and fixed, dome, bullet, PTZ or another type. For analogue cameras, include the DVR details and channel mapping.
| Technical information required | Customer response |
|---|---|
| Are cameras connected to a separate PoE switch, directly to a recorder's PoE ports, or by another method? | |
| Camera stream settings, where known: resolution, frame rate, codec and bitrate | |
| ONVIF or RTSP availability and any non-standard connection ports, where known | |
| Existing NVR, DVR or video management system: brand, model, software version and channels in use | |
| Any faulty, offline, locked or inaccessible devices? | |
| Alarm panels, access-control systems, speakers, relays or other devices to integrate: brand, model, firmware and required function | |
| Required interfaces, communicators, licences or API access for those integrations |
Attach a camera location plan, network diagram and photographs of equipment labels and connections where available. The installer should check Camera Compatibility and the relevant integration guide before confirming that existing equipment can be used.
4. Network and Internet
Ask the site's IT contact to complete this section.
| Information required | Customer response |
|---|---|
| Internet connection type and provider; measured download and upload speeds | |
| Any data allowance, usage limits, unreliable connectivity or cellular backup? | |
| Router, firewall and relevant switch brands and models | |
| Camera and recorder subnets, subnet masks and VLAN IDs; are they separate from the business network? | |
| Proposed TetherBox connection point and spare Ethernet port; can it reach every required camera or recorder and the Internet? | |
| IP addressing: DHCP, DHCP reservation or static address? For a static address, provide the approved IP, subnet mask, gateway and DNS servers. | |
| Firewall, proxy, VPN inspection or network access restrictions; are IT changes or device registration required? | |
| Who will approve and apply network changes, and will they be available during installation? |
The TetherBox connects out to TetherX and does not require inbound port forwarding. Have IT review Connecting your TetherBox to the Internet for the connection and firewall requirements before the visit. Size bandwidth and any data allowance for the agreed recording, viewing and cloud backup requirements.
Note: Activation and initial setup require an Internet connection. During an Internet outage, local recording depends on the TetherBox retaining power, working storage and connectivity to the cameras.
5. Credentials and Authorised Access
Confirm who can provide and test each login. Share passwords, panel codes and API secrets through an agreed secure method, separately from this form.
| Access required | Who will provide it, and when? |
|---|---|
| Every camera and recorder, including separate ONVIF accounts where required | |
| Router and switch administration, or an authorised IT contact who can make changes | |
| Alarm panel codes, communicator settings and access-control administration, where in scope | |
| Third-party service accounts, integration licences and API access, where in scope | |
| Permission to configure devices, access footage and carry out the agreed tests |
The installer should test the required credentials before travelling wherever remote access is available. Resolve missing access with the customer, previous installer or equipment supplier.
6. Physical Installation and Site Access
| Information required | Customer response |
|---|---|
| Proposed TetherBox location: rack, cabinet or shelf; available space and ventilation | |
| Available power sockets, UPS provision and any power restrictions | |
| Camera power arrangements and available PoE switch ports and power budget | |
| Cabling required, approximate distances and any new cable routes | |
| Site access arrangements: parking, keys, escort, induction, permits or restricted areas | |
| Access equipment or special tools needed, including work at height | |
| Known site hazards or environmental conditions affecting installation | |
| Who will be present to provide access and receive the handover? |
7. Installer Review Before Travelling
- ☐ Review the returned form and attachments. Resolve anything that prevents installation; record an owner and due date for remaining actions.
- ☐ Confirm camera and integration compatibility, including the required interfaces, licences and credentials.
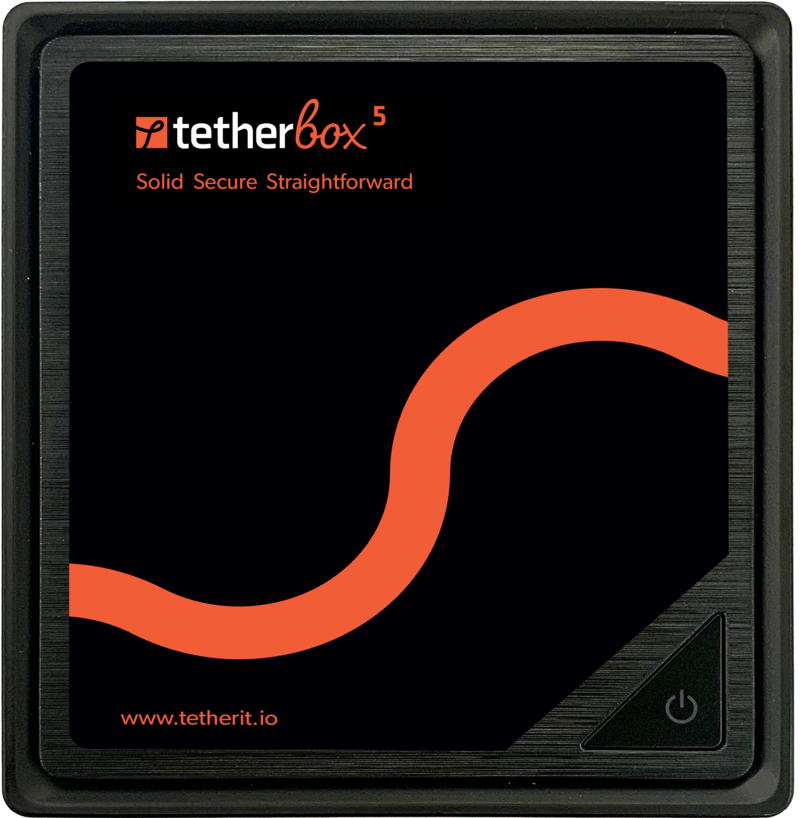
- ☐ Select the TetherBox model and storage for the camera count, stream settings, retention and site conditions. See Hardware Specifications and Storage Hardware.
- ☐ Activate the TetherBox before the visit where possible and assign it to the correct customer timeline. Allow 5 to 30 minutes for its first software download. See activating a TetherBox.
- ☐ Confirm that network approvals, power, cabling and site access will be ready for the agreed date.
- ☐ Pack patch leads, power supplies, adapters and device-specific interface cables. Use the Troubleshooting Kit to check the service equipment.
- ☐ Agree the customer accounts, camera access, settings permissions and notification recipients.
- ☐ Confirm the acceptance tests, handover contact and any training required for the web platform, mobile apps or operator workflow.

8. Commissioning and Handover
Use the agreed scope to verify the installation before leaving. Mark services outside the scope as not applicable.
| Check | What good looks like |
|---|---|
| Cameras and recording | Every camera in scope is online; new recordings play back and recording and retention settings match the agreement |
| Remote access | The customer can view the agreed cameras from outside the site network |
| Alerts and integrations | Agreed notifications, alarm reports and integrated functions have been tested with the intended recipients |
| Cloud backup | Recordings are uploading for the agreed cameras |
| Customer access | The intended users can sign in and have the agreed camera access and permissions |
| Handover | The customer receives a walkthrough, support contacts and a record of any outstanding actions, and accepts the installation |
Related Articles
- Camera Compatibility - supported cameras and recorders
- Getting Started for Integrators - the wider installation and handover path
- Troubleshooting Kit - what to carry in the van
- Tunnelling to Network Devices - reaching a device on the customer's LAN afterwards
- Hardware Specifications - sizing the unit and its storage
Referenced in: